Making Quick Moulds for soap
Sometimes, you may have a soap idea, but can’t find a commercial mould that fits your need, or you just want to create something silly or personal. For those times, making your own mould is your best option. Mind you, this method does not create professional grade silicon moulds that will hold up to hundreds and hundreds of pours, but they are pretty amazingly durable and all of the materials are easily available almost anywhere.
For this lesson, we decided to try and make crystal soap and rock soap. As it turns out, I made too much silicon, so we also made a shell soap.
For this, we’re using Amazing Mold Putty from the Alumilite Corporation of Kalamazoo. (I just love typing Kalamazoo.) The product is by and far the easiest mold product to use for the novice, plus it’s food grade silicon and made in the US. Because it’s food grade, you can use it to mould ice cubes and chocolate and other nummies. The company sells it in bulk quantities, but you can get small containers of it at the craft store for a fairly low price point. (Sub $15.00)
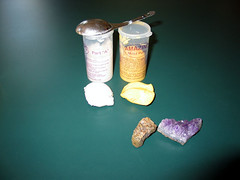
Here is a tablespoon of each of the mixes, and the objects we’re going to mold: (Please note that all pictures can be clicked on to see a larger size, or you may go to flickr and see the entire set.)
You mix equal parts of each component together until they are a uniform yellow color with no streaks. It’s a bit like playing with slightly oily play dough. But it’s so easy, even a child can do it. See, here’s a child doing it.

Once the mix is ready, you have about 15 minutes to get it around the object you’re going to use. The best method is to roll a ball of it up, so you don’t have any seams, then press the object into the ball. Remember to leave enough room on one side to get your object out. I also recommend that you have enough of the mix at the bottom of your object that you can press the moulding ball against a flat surface to create a flat bottom. A flat bottom makes pouring things into the mould once you’re finished considerably easier.
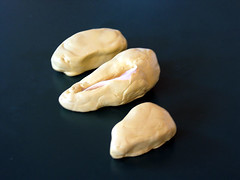
Here are three things we have molded; the two rocks are opening side down, so as to expose as much of the mould to the air as possible, and the shell is open side up, to create as steady a flat bottom as possible.
Let the moulds dry for at least 30 minutes, then peel them (carefully) off the object. Rinse them out, and they’re ready to use. Here’s what we made with ours:
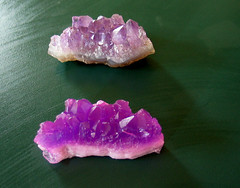
Amethyst and soap simulacra.
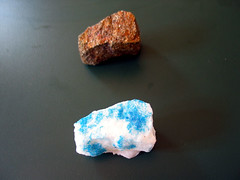
Pyrite and a soap rock.
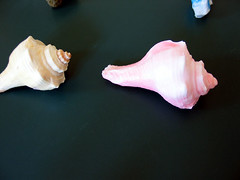
Seashell and soapshell.
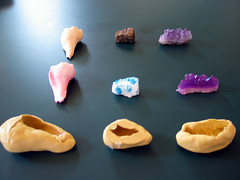
Originals, soaps and moulds.